Building a Modern Blog with Strapi & Kubernetes: Your First CMS in the Cloud
Learn how to build and run a modern blog CMS using Strapi in Kubernetes. This first part walks you through building a Strapi Docker image, deploying it in Kubernetes, testing it via port-forwarding, and exposing it using a service. Perfect for developers who want full control and flexibility over their content backend.
Welcome to your journey of building a modern blog platform! This is Part 1 of a 3-part series where we'll go from zero to a production-ready blog.
🎯 What We're Building
By the end of this series, you'll have:
Part 1: A Strapi CMS running in Kubernetes (that's today! 🚀)
Part 2: A beautiful Next.js frontend
Part 3: Everything secured and production-ready
Let's start simple and build our way up. Today, we're just getting Strapi running!
Why Start with Strapi?
Think of Strapi as your content creation headquarters. It's where you (or your team) will write blog posts, upload images, and manage everything content-related.
The best part? Strapi gives you a nice admin interface while providing APIs that any frontend can consume. It's like having a WordPress admin panel, but way more flexible.
What You Get Out of the Box
✏️ Content Editor: Write and manage your blog posts
📁 Media Library: Upload and organize images
👥 User Management: Control who can access what
🔌 APIs: RESTful and GraphQL endpoints ready to go. For blog my personal favorite is GraphQL and I have almost always used it for all the blogs that I have built with strapi.
First of all you need to make sure that the image works locally. To test it locally first run the command:
# Run the container locally
docker run -d \
  -p 1337:1337 \
  -e NODE_ENV=production \
  --name strapi \
  kubekanvas/strapi:latest
Visit http://localhost:1337/admin to see if it works, then stop the container with Ctrl+C.
Step 2: Deploy to Kubernetes
Now let's deploy our custom image to Kubernetes! Just like you ran the container in your local now you have to do the exact same step in kubernetes cluster. So imagine one container running in your local kubernetes and you goal is to be able to reach it like you reached your local one.
In Kubernetes language you need a pod or a deployment running strapi. I am using deployment because we almost never use pods in real life, so lets start right.
If you are using any other image e.g. from docker hub or an image from your own organization's registry replace the my-strapi-blog:latest with your image name. If you are using a local image imagePullPolicy: Never under image name.
Deploy it to your cluster:
kubectl apply -f strapi-deployment.yaml
That's it! Your custom Strapi is now running in Kubernetes. 🎉
Check If It's Working
Let's see if our pod is running:
kubectl get pods -l app=strapi
You should see something like:
NAME                      READY   STATUS    RESTARTS   AGE
strapi-7d4b8c9f4d-xyz123  1/1     Running   0          1m
If the status shows "Running", you're golden!
Note: If you see "ContainerCreating", don't worry! This just means Kubernetes is pulling the Strapi image and starting up the container. This usually takes 30-60 seconds depending on your internet connection. If it's taking longer, you can check what's happening:
kubectl describe pod -l app=strapi
Look at the "Events" section at the bottom - it'll show you if the image is being downloaded or if there are any issues.
Step 3: Access Your Strapi Admin
Right now, Strapi is running inside your cluster, but you can't access it from your browser yet. Let's use Kubernetes port-forwarding to tunnel into your cluster:
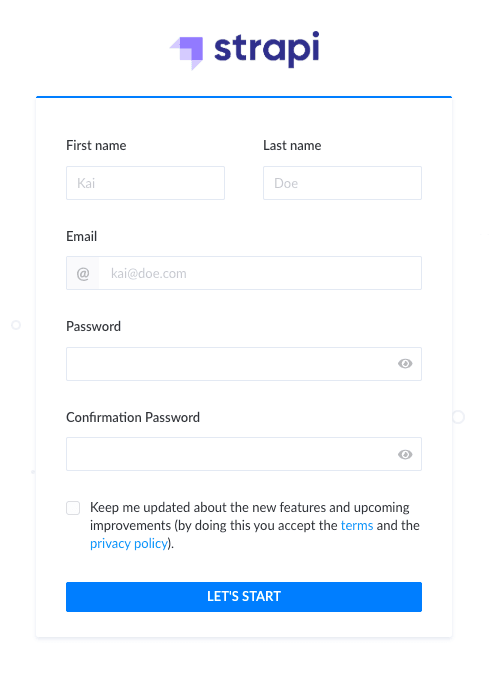
🎊 Magic moment: You should see the Strapi setup page!
Troubleshooting Connection Issues: If you get connection errors like "Connection refused" when port-forwarding, it usually means Strapi is still starting up. Strapi can take 2-3 minutes to fully initialize on first run. Check if it's ready:
# Check if Strapi is fully started
kubectl logs -f deployment/strapi
You'll see Strapi starting up:
> [email protected] start
> strapi start

[2025-06-21 14:15:30.451] info: Starting Strapi application...
[2025-06-21 14:15:32.123] info: Server started on port 1337
Since we're using a pre-built image, startup is much faster - usually under 30 seconds!
Once you see that, try the port-forward command again:
kubectl port-forward deployment/strapi 1337:1337
Create Your Admin Account
Follow the setup wizard to create your first admin user. Pick a username, email, and password that you'll remember.
Once you're in the admin panel, take a moment to explore. This is your content management headquarters!
Step 4: Create Your First Blog Post
Let's make this real by creating a blog post structure:
Go to "Content Manager" → "Articles"
Click "Create new entry"
Write a sample blog post
Click "Save" and then "Publish"
Congratulations! You just created your first piece of content. 🎯
What Just Happened? (The Magic Explained)
Let's take a moment to appreciate what we accomplished:
Kubernetes Deployment
We used a Deployment to tell Kubernetes: "I want one copy of Strapi running at all times." If the pod crashes, Kubernetes automatically starts a new one.
Container Magic
The my-strapi-blog:latest image contains your fresh Strapi v4 installation with all the latest dependencies. No compatibility issues, no outdated packages – just a clean, modern setup.
SQLite for Simplicity
By default, Strapi creates an SQLite database file inside the container. This means:
✅ Super simple to get started
❌ Data disappears when the pod restarts
That's fine for learning, but we'll fix the data persistence issue in our next iteration.
Step 5: Make It Accessible (Create a Service)
Port-forwarding is great for testing, but let's make Strapi accessible within the cluster properly. Create a strapi-service.yaml:
Now other applications in your cluster can reach Strapi using the DNS name strapi-service on port 1337. Pretty neat, right? In practice we will use this service in the next part of the series. For now you can use port-forward to this newly created service to access strapi deployment.
You now have a working Strapi CMS running in Kubernetes! 🚀
But there's a catch: If your pod restarts, all your content disappears because we're using SQLite inside the container.
In Part 2 of this series, we'll:
Start building a Next.js frontend to display your blog posts.
Make Strapi accessible from the internet
In part 3 of this series, we'll:
Add a proper PostgreSQL database with persistent storage
Store images on S3.
For now, enjoy exploring Strapi and creating some test content. Get familiar with the admin interface – this is where you'll be managing your blog content.
Quick Troubleshooting
Pod not starting?
kubectl describe pod -l app=strapi
kubectl logs -l app=strapi
Getting "Connection refused" during port-forward?
This usually means Strapi is still starting up. Check the logs:
kubectl logs -f deployment/strapi
Wait for the message "Server started on port 1337" before trying port-forward again.
Can't access localhost:1337?
Make sure port-forwarding is still running:
kubectl port-forward deployment/strapi 1337:1337
Want to start fresh?
kubectl delete deployment strapi
kubectl delete service strapi-service